How to [use/solder/waste/be patient with] 576 leds!
By limpkin on Thursday, February 24 2011, 15:07 - My Projects - Permalink
Yes, the title says it all... this was a pretty long project!
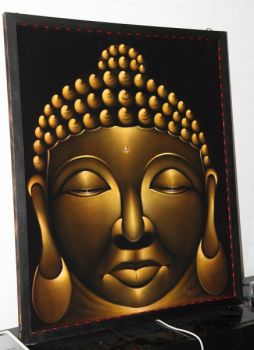
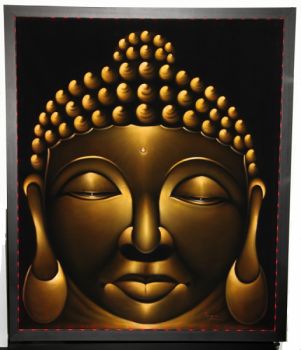
The project that I am going to detail here started when I bought in Bali (Indonesia) a very nice painting that one of the local artists made. At the time, this Buddha head made me think that I could make nice effects by playing with its lighting...
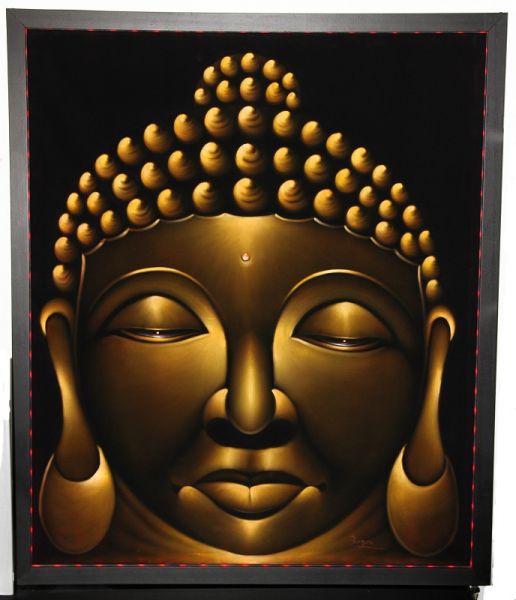
So... let's suppose that you bought a painting and you would like to attract attention to it in your living room. Some of the regular readers here know that I like to play with LEDs, so I thought it would be a good occasion to use some (!) of them to illuminate this painting.
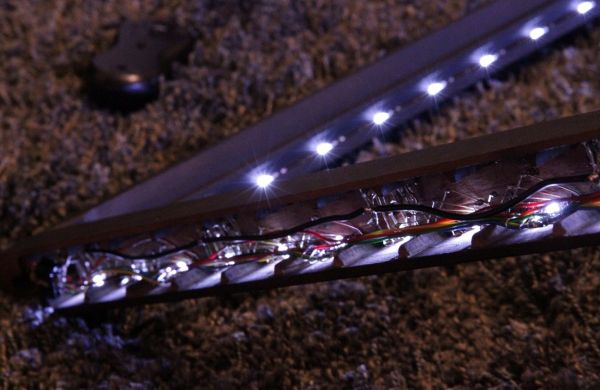
Here comes the tricky part, the goal here being to light the painting while the admirer wouldn't be bothered by direct light coming to his eyes. Thus, the LEDs' axis had to be parallel with the painting. That meant covering half of them in order to only let the light going to the painting pass:
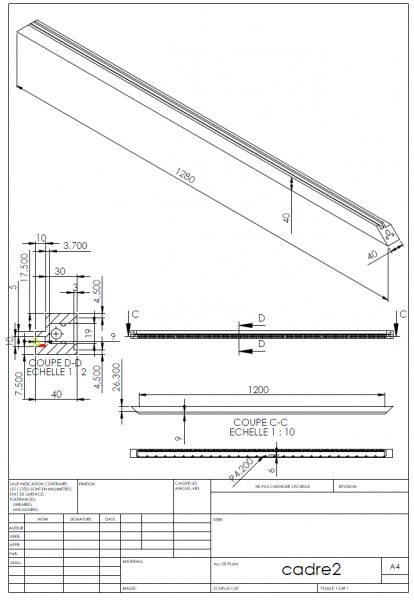
In this picture (click to open), look at the "coupe D-D", which is a cut of one piece of the frame. If you look on the left part, you will see one rib on the bottom and one extrusion on the top (in case you wonder, the front of the whole part is the bottom line).
The LED in the rib is drawn in red, half of it being covered by the piece made of wood. Thus, in theory, only the painting located in the extrusion will be lighted by it (I quickly drew green rays...). And in the assembly process, the LED would be inserted by the other side:
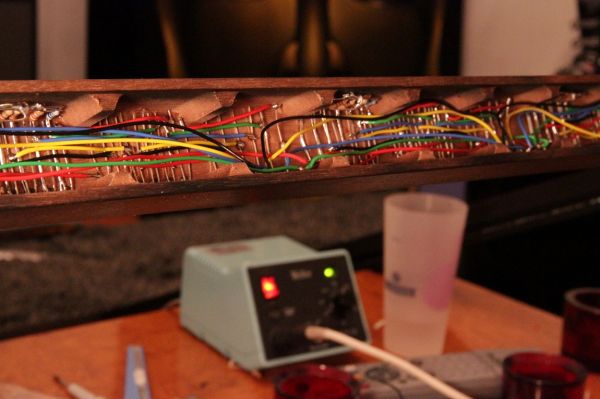
As you can guess, there was a lot of soldering involved, as I chose to put 96 packets of 6 leds (red, green, blue, white, pink and UV)! 576 leds to be soldered...
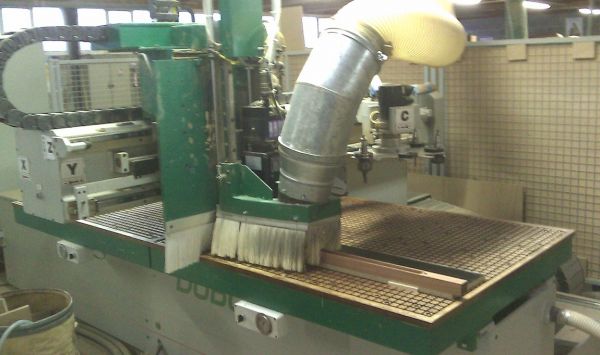
How I produced the parts? Well, as I have access to a CNC machine in my home town, I wrote some G code and after 4 hours of production, I had my 4 parts...
A few words on the electrical cabling. The leds are not individually controllable, the whole color only is. The system is 12V powered, with separate grounds for each color. That is to say that I will use N Mosfets to control each color.
Leds of each color are grouped by packets of 3 (12v - led - led - led - resistor - ground) because of their forward voltage (around 3.2V). Thus a total of 768 solders and 50 hours of work (thanks Seb for your help) was required.
I haven't made the control part yet (which will consist on some PWM, buttons and RF exernal communication), as I am currently working on other stuff. Anyway, this control part is not too challenging so I'm currently letting a friend to work on it (another article in this blog will thus be made, stay tuned!).
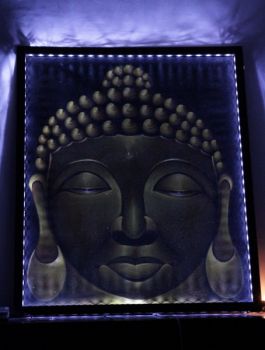
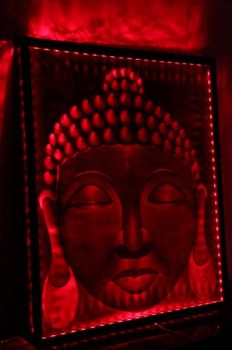
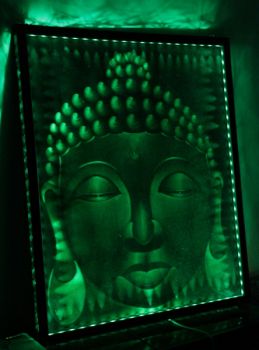
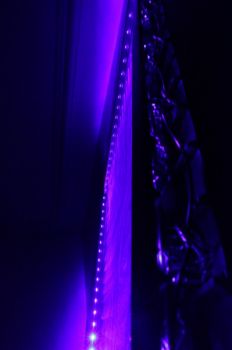
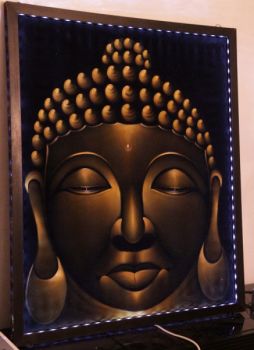
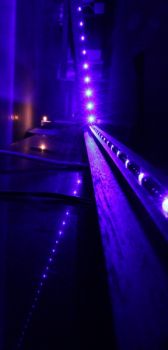
So, here comes the beautiful pictures... Luckily one friend of mine lent me his Canon eos 7d to play with. Unluckily, that meant tuning all its parameters by hand as the pictures had to be taken in the obscurity:
I'm still not very satisfied with the pictures but that will have to do :). Well, the overall result is very nice! I like to think that it was worth the effort ;).
As contrary to my other posts, there won't be any code here as it is only a 'mechanical' project... but the electrical part should come in the next months! However, here are the solidworks and production files in case you are as patient as the guy in the painting ;)

Comments
great job, it looks beautiful ! how much for the painting ? :P
@xa4 : the original painting cost me something like 250 dollars :)