A Timeless Fountain
By limpkin on Monday, June 22 2015, 15:08 - My Projects - Permalink
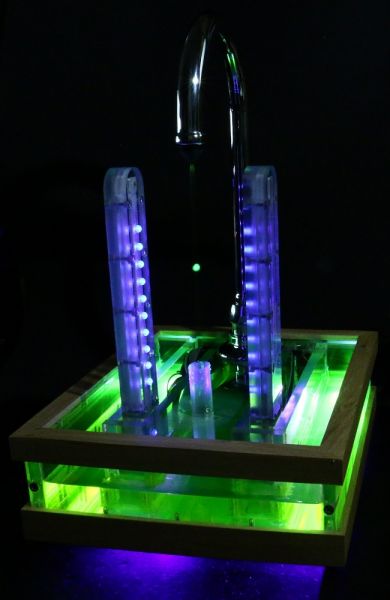
This is one of these "just because" projects...
The Idea
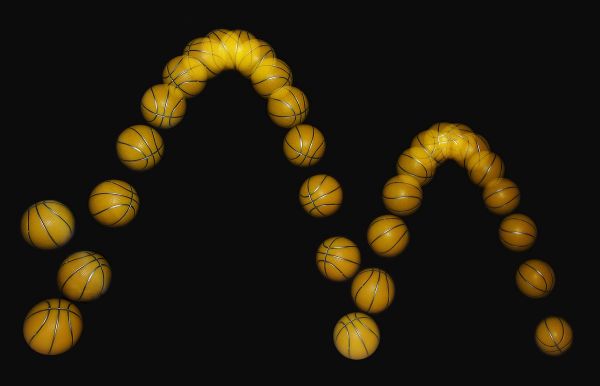
I'm sure that most of you are familiar with the stroboscopic effect. To paraphrase wisegeek, it is a phenomenon of human visual perception in which motion is shown to be interpreted by a brain that receives successive discreet images and stitches them together with automatic aliases for temporal continuity. In short, motion is an artifact.
A conventional strobe fountain is a stream of water droplets falling at regular intervals lit with a strobe light. When viewed under normal light, it is a normal water fountain. When viewed under a strobe light with its frequency tuned to the rate at which the droplets fall, the droplets appear to be suspended in mid-air. Adjusting the strobe frequency can make the droplets seemingly move slowly up or down.
However making water droplets fall at regular intervals isn't as easy as it sounds as many physical effects will get in the way of doing so (the main one being surface tension). For this project to work I'm instead detecting droplets with a laser and flashing a light accordingly.
Detection and Flashing
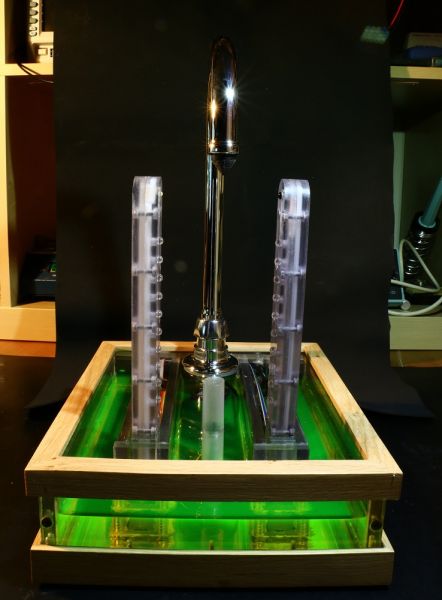
The liquid you see in the above picture is simply water with fluorescein, which reacts awesomely under UV light. The two bars on each side of the droplet's fall course therefore include 10 UV LEDs each, as lots of 'light' is required for very small amounts of time.
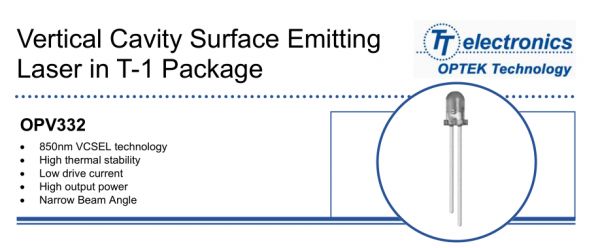
As previously mentioned our left bar includes a small 850nm laser at its top. This particular wavelength isn't visible by the naked eye. The laser is therefore powered at its lowest rating to avoid any damage if one were to manage putting his/her eye in front of it (even though that is nearly impossible).
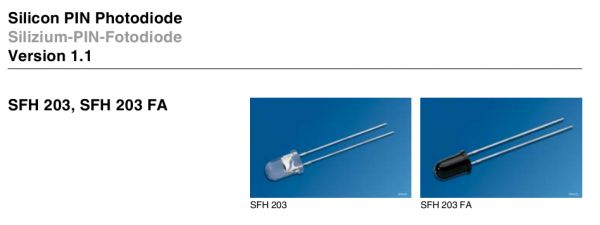
On the other side a photodiode detects the laser beam. As you can guess, good alignment was key for this build!
The laser beam is very narrow so no signal amplification was required. When a droplet passes in front of the beam the typical voltage variation with a 2k resistor is around 750mV.... which is very simple to detect.
The Pieces
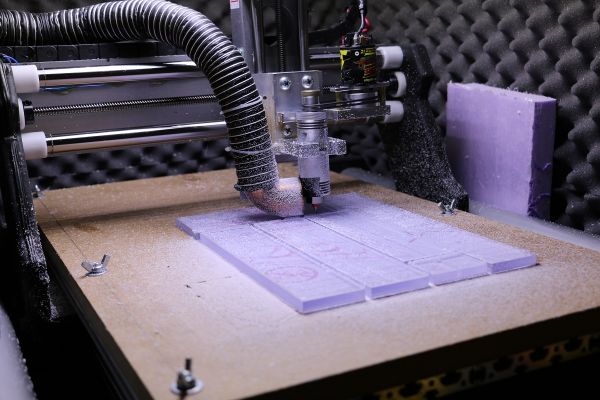
The complete fountain was made with only four A4 8mm polycarbonate sheets. Total cost for the 4 sheets was around $35 on Ebay. I used my small CNC machine to mill all the individual pieces. As you can guess... this took quite a while! Precisely drilling the assembly holes on the pieces' edges (to guarantee good final assembly) was the most critical part.
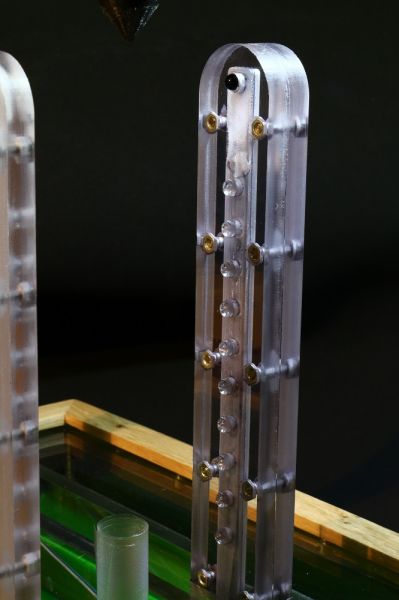
The two bars are simply two rounded 50x224mm sheets assembled together with M3 screws. They were designed in such a way that the M3 nuts & M3 screws heads are directly integrated inside the sheet. A deep groove was machined to allow me to solder all the LEDs together. A standard 0.1" connector was glued at the bars' ends.
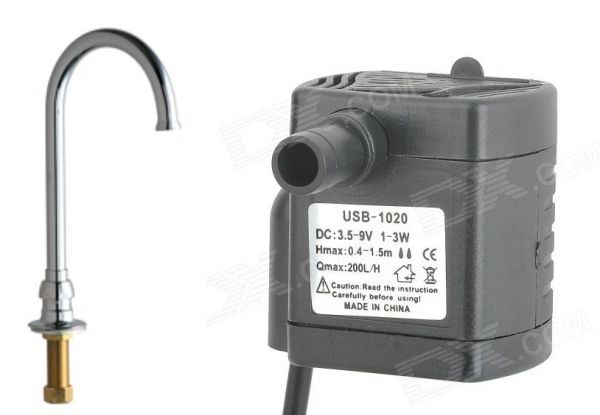
The faucet was also purchased on Ebay ($30) while the submersible pump was purchased on dealextreme ($5). It took me a surprisingly big amount of time to find a tall enough faucet that could be easily fixed to the main plastic sheet (yes, faucet datasheets are a thing!). A $3 flexible plastic tube (ID 8mm/ OD 10mm) is attached to the pump output and passed inside the faucet to the nozzle.
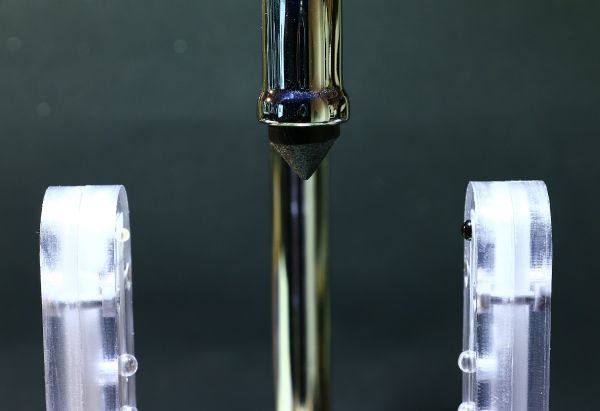
The nozzle turned out to be the hardest piece to design as it took me around 15 tries to get it right! A good rule of thumb seems to be a very small output hole (0.5mm in my case) to guarantee good water pressure and a sharp nozzle angle (70degrees).
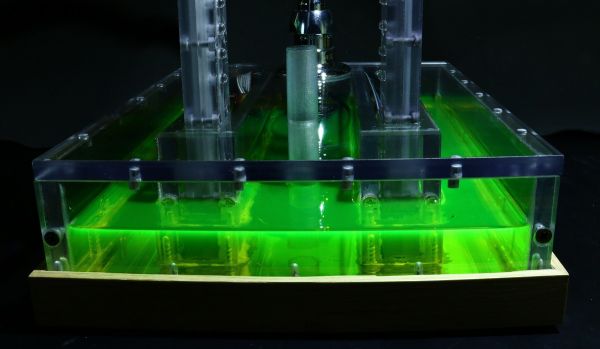
The main reservoir is assembled using screws and acrylic glue was used to provide good sealing. The top plastic sheet isn't attached to the rest of the assembly. I instead used small magnets embedded inside the reservoir edges and the top plastic sheet so cleaning could easily be done.
The Electronic Side of Things
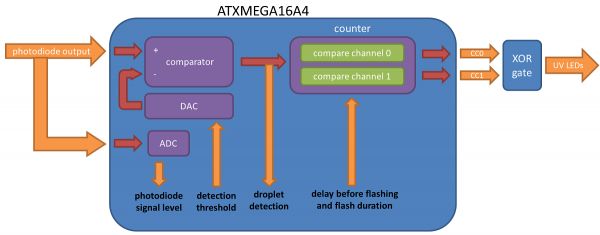
The small PCB I made for this project is based around the ATxmega16A4. In the above diagram you can see how the drop detection and LED flashing are implemented.
The Analog to Digital Converter (ADC) is used at the platform start to measure the droplet detection and non-detection photodiode output levels. Using these values and the internal Digital to Analog Converter (DAC) a detection threshold is set on the ATxmega internal comparator. The comparator output will therefore be set to logical 0 every time a droplet is detected.
This output is programmed as both an internal event and an interrupt. The interrupt is used by the microcontroller to count the number of droplets per second while the event is used by our internal counter as a reset signal. In our latter we just set a compare value of X for channel 0 and a compare value of (X + Y) for channel 1, use an external XOR gate and as a result our UV LEDs will flash after a delay X after droplet detection for a duration of Y.
You'll therefore notice that droplet detection and UV LEDs flashing are (more or less) done completely asynchronously as we just 'wired' the different internal peripherals together so they can provide our desired functionality.

Finally, I just needed to adjust the pump outflow (therefore its supply voltage) depending on the photodiode output to provide a constant number of droplets per second. This is done using an LDO whose feedback resistor divider is adjusted depending on the required output voltage. I had to write a simple control loop feedback mechanism inside the ATxmega's firmware.
Final Result
And voila! This fountain actually was a side project I did over the last few months. You'll also notice that I skipped over the non-interesting (yet tricky) details: internal wiring, power supply... You'll find the kicad files made for this project here.
I'll finally add that the original idea wasn't mine and that I actually made a v1 of this concept nearly 10 years ago!
Click on the below picture for high-resolutiion:
Cheers!

Comments
Hi,
I have been attempting a very similar project, but from a slightly different angle. I tried using a solenoid pump to assure a regular drop rate but the variance of drop shape has been annoying me. I shall be trying your nozzle design next. Thanks for sharing ! Can I also ask if you have any intention of sharing the source code for this project ?
Regards.
FF.
@FountainFan :Thanks for your kind words! The firmware is an absolute mess as it is a non commented version of this. Send me an email and I'll send you the sources :). Please also let me know how your experiments go!