The RGBW lighted carved plastic glass and its power supply
By limpkin on Monday, January 8 2007, 22:48 - My Projects - Permalink
Being a DJ and loving to play with LEDs, I thought of a small project to realize during my third year in my french engineering school. The idea is pretty simple: light a carved plastic glass with RGBW LEDs located on its side. Let's see how this goes...
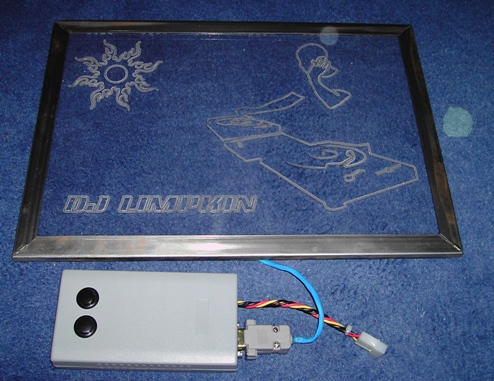
For such project, first thing of all, I had to think of how to power it. That's where ebay was useful...
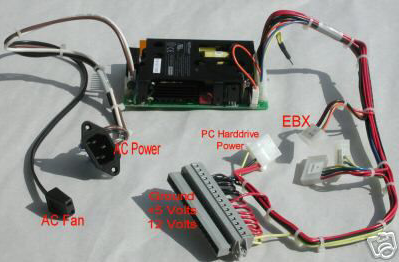
Originally, this was supposed to be a power supply for small computers. I think it cost me 50$, its dimension are something like 130*80*40. Of course, we don't need all these useless plugs so I slightly arranged the wires...
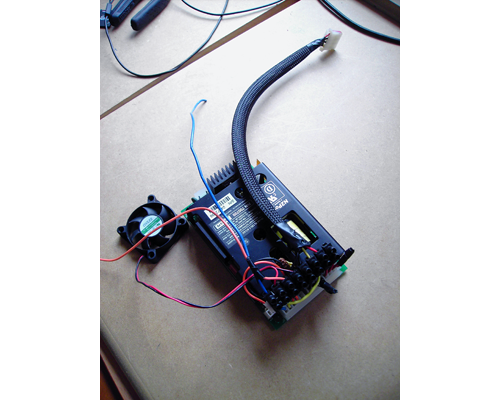
Because I didn't want to care of where I put this power supply each time I use it, I decided to make a small plastic box for it.
First step, the schematics:
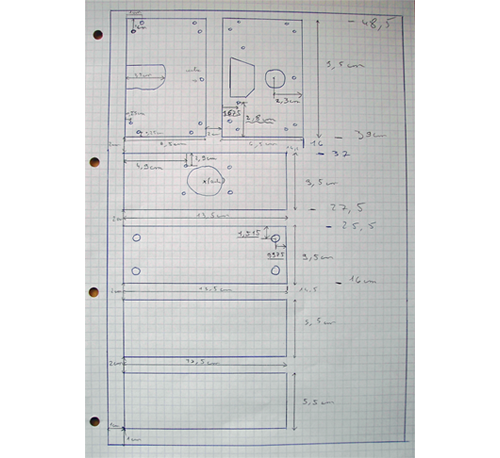
At the time, I could use a CNC machine, so I generated the corresponding code to create the parts I needed and simulated it:
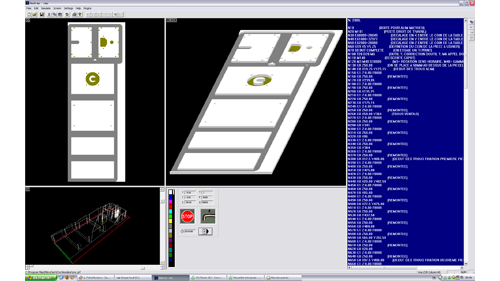
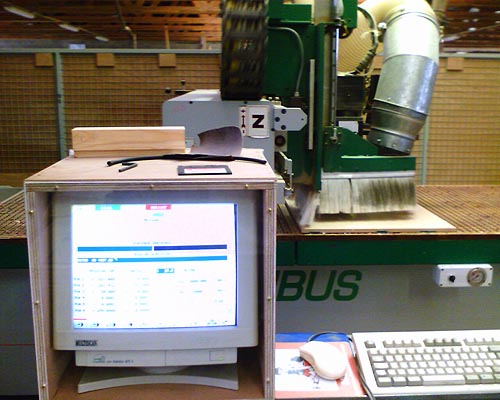
Test complete, let's make the parts with the machine:
Finally, assemble the parts together with the power supply:
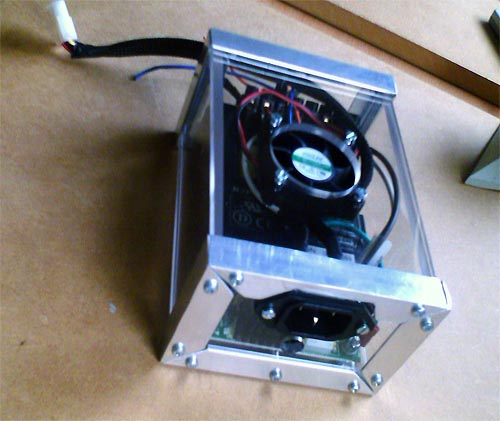
Done! Isn't that nice? ;) Now, let's focus on the main project. Firstly I created the picture I will carve on the plastic glass:

The corresponding CNC code was generated using a software recognizing the shapes' borders. Concerning the components' choice, I chose an ATMEGA8 microprocessor, whose memory at the end of the project was 92% full. To implement a beat detection feature, I also added a microphone and the electronics that were needed for. Here are the schematics and the PCB:
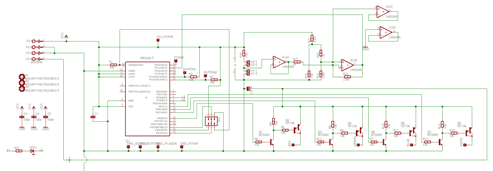

The electrical circuit is really simple, the only thing to be aware of is the trimmer to properly center the microphone output at Vcc / 2. Now, let's do some solders and buy the appropriate box to fit the PCB:
The buttons on the top will be used to change between the different animations I programmed (rainbow, blinking, fading, beat detection etc...), the black trimmer on the right to change the speed of each animation. The circuit will be connected to the glass via a DB9 connector. Some pins are available on the board in order to reprogram the AVR. By the way, I forgot to show you the carved glass:
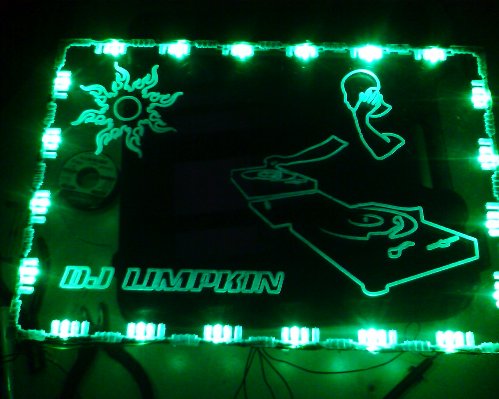
The holes on the side of the glass were made using the CNC machine but I let you imagine how hard it was to solder the LEDs and the resistors in the small space available (I may have burned 10 LEDs while soldering them). All together, here is the final result:

Well, this looks nice on picture but I guess you can't imagine how it works. So here are some videos for you:
Project video 1 Project video 2
I was really satisfied of this project, I'm still using the whole system now when I mix for different student parties (hey, this is a useful project!).
For those who would like to make a similar project, here are different files you would like to have a look at:
Carved glass source code (AVR STUDIO)
Unfortunately I lost the schematic and PCB files, but if you have any question you are welcomed to contact me ;).
